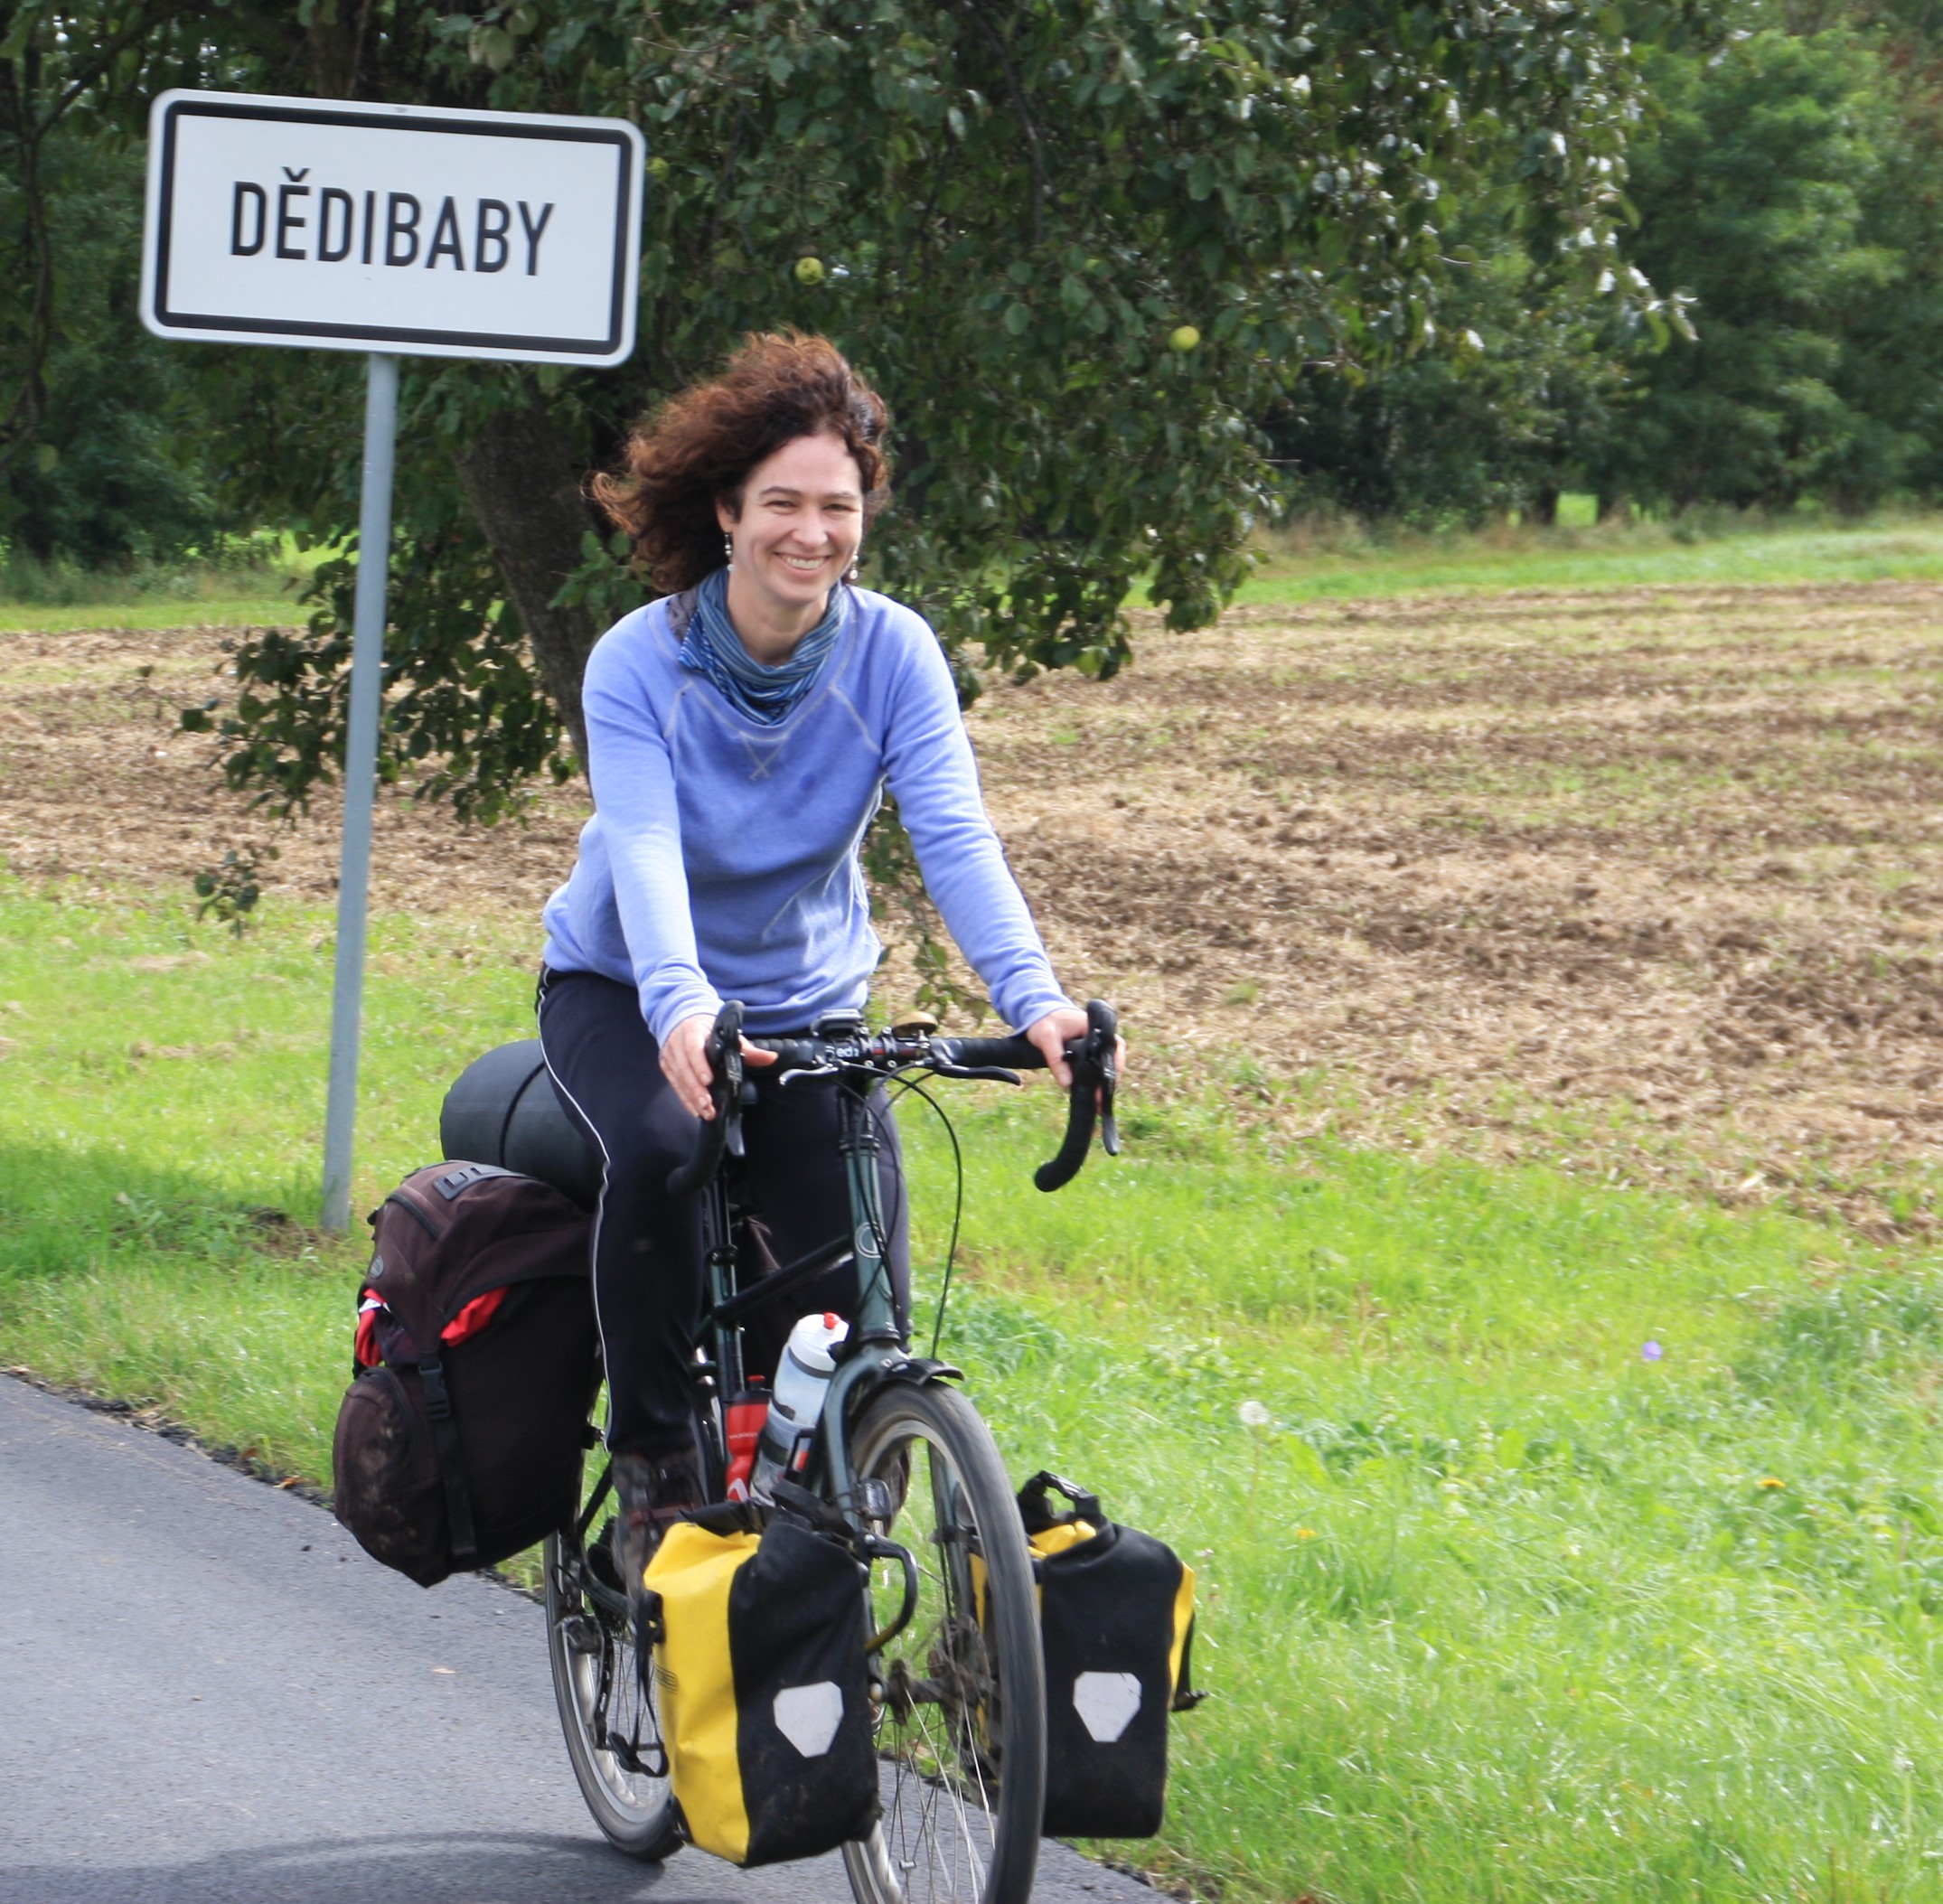
31 Mar Cycling Tips from an Alexander Technique Teacher By Michelle Cole
I’ve thought a lot about applying the Alexander Technique to cycling and here are some tips …
Arms and shoulders
Allow your hands to rest gently on the handlebars. Avoid gripping the bars. You only need a light touch for steering. Be careful not to brace your arms. The elbows should have potential for movement. You want to think of having a two way flow up your arm; the arms are raising and supporting the body as well as connecting down to the handlebars. They are engaged at full length but not tense, rigid or braced. If you can get your contact with the handlebars working better for you your shoulders will be freer.
And more! Freer arms and shoulders will mean your ribs are able to move more freely allowing for more breath. Your breathing will also be helped by a lengthening back.
Consider that your contact with the seat is through your seat bones. You want to hinge forwards from your hip joint. Not through the middle of your back. Acknowledging the support from the bike seat though your seat bones will give you a better sense of support and a reference point for one end of your back. The other end is best thought of in terms of the crown of your head. Of course, it’s not literally but the head sitting on top of your spine gives direction to your back. So, think of length of your upper body as a whole including your head with a direction that’s forwards and out. Or diagonally away from your seat bones. And remember to think of length up through the front of yourself, through your middle and through your back. Have a sense of an integrated, whole, lengthening upper body. It is helpful to understand that our spine is not at our back. Our spine is much more at our core.
Feet and legs
So far, we have looked at two points of contact with the bike. The handlebars and the seat. The other point is of course the pedals. The contact with the pedals wants to be fully on the balls of the feet. And we have the opportunity for three lovely joints moving fully as we pedal, hip joint, knee joint and ankle joint. Especially consider the ankle joint which can incline to be locked. And free your toes. It is helpful to think of the insides of the heel going down on the down stroke. I also find it helpful to get in touch with a sense of a freely moving upper leg in my hip joint. Think softening in to your hip joint.
Here’s an aside. My moment of epiphany on a bike with regard to the Alexander Technique happened on a climb in the alps between Geneva and Annecy. I was climbing behind a local cyclist and I suddenly understood that what was needed was a freely moving femur (upper leg bone) in my hip joint. Of course, this is obvious. But the increased awareness I had from my Alexander lessons made me realise that my idea of cycle climbing effort involved pushing down hard and tensely with my upper leg muscles and this was really interfering with this free movement. I needed to find a way of increasing the energy to my legs but not with effort and tension. The power of good example can be very effective and I think watching this fellow cyclist moving with good use helped me find a way. Hills and mountains have never daunted me since.
*******A final tip; look out and enjoy the ride! *********


No Comments